Winker Project Complete
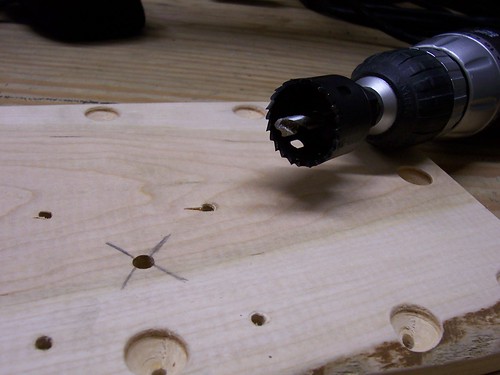
My church had a workday this past Saturday, but I couldn't make it, so I decided my contribution would be some work off-the-clock on the pipe organ later that day. My winker project had left some wind leaks that were a bit noisy, so I was hoping to get the project buttoned up before Sunday morning, and I did. First I bought this nifty hole saw at Home Depot and pulled the winker mounting plate back off to drill out the windhole, as seen below:
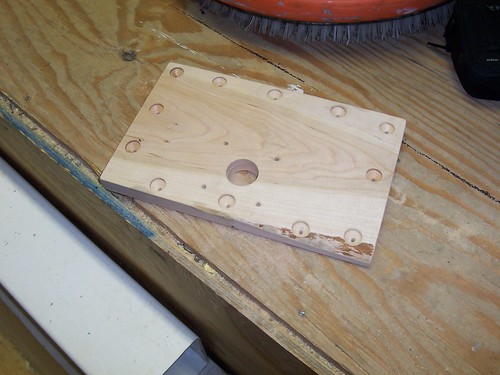
Then, below, I needed to plug the mysterious hole in the winker. I glued a piece of cardboard over it and clamped it with the winker springs until the glue dried. Notice that the leather gasket at the mounting flange is folded over. That was a major culprit in the leaks. I thought I just had a screw hole misalignment problem. This problem was easier to fix than the problem I thought I had.
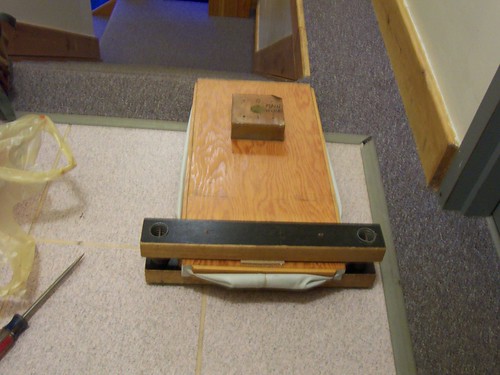
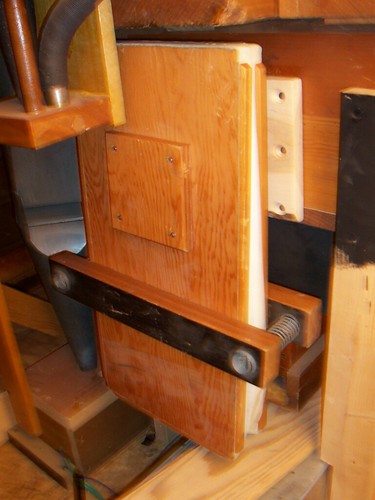
Below: The winker is mounted again, the wind turned on, and the winker inflated! The only leak is at the bottom of the mounting plate. The gasket on the chest has an indentation caused by the previous cover plate that had so many ripples in it. I also discovered a deep check in the chest running through the bottom screw hole on the left vertical side of the opening. I should have just seen it, but I discovered it by the fact that the screw wouldn't hold. Need to fix those. The check should be fixable onsite without removing or de-piping the chest using a router and grafting in a new piece of wood. But for now, the winker project is done.
So how does it play? Well, it made a big difference. The wind wavering (and the resulting tone wavering) is nearly gone in most normal playing situations. Its still pretty noticeable in large chords on the bigger pipes. I think its liveable now. I'm going to say what any good organbuilder would say when he can't get the wind system 100% stable: "... a subtle flexibility that enhances the instrument's intrinsic musical qualities." ;-)
posted by AndyOfVermont at 1:37 PM
![]()
![]()
0 Comments:
Post a Comment